You have no items in your shopping cart.
Blog / Hello World, Then a Robot: Our 8 August 2017 Arduino Electronics Class
Hello World, Then a Robot: Our 8 August 2017 Arduino Electronics Class
On 8 August 2017 a small group sat down in our training room with a laptop each, a breadboard, and a handful of components that cost less than lunch. By the end of the day every one of them had written code that made something in the physical world move, light up, or measure a distance. That is the whole promise of the Arduino microcontroller, and it is why this course has stayed on our schedule for nearly a decade.
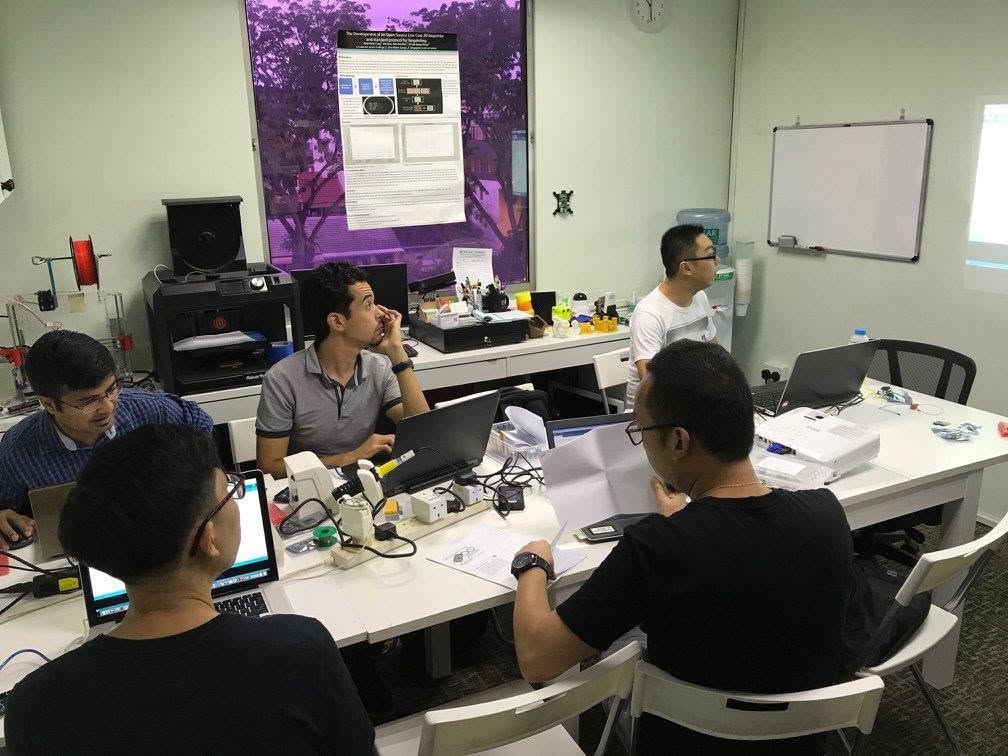
The class ran as a single full day — the same shape it runs in today. No prior electronics background was assumed. Most people in the room had never stripped a wire or read a resistor colour code before that morning.
Starting where every embedded engineer starts
The first hour is deliberately unglamorous: what a microcontroller actually is, how it differs from the computer on your desk, and how to get a single line of text out of the board over the serial port. It sounds trivial. It is not. Serial output is the debugging lifeline for every embedded project that follows, and learners who skip it spend the rest of their careers guessing why a circuit is silent.
From there the day moves to digital input and output, and to Pulse Width Modulation — the trick that lets a chip which can only say on or off convince an LED to fade or a motor to run at half speed.
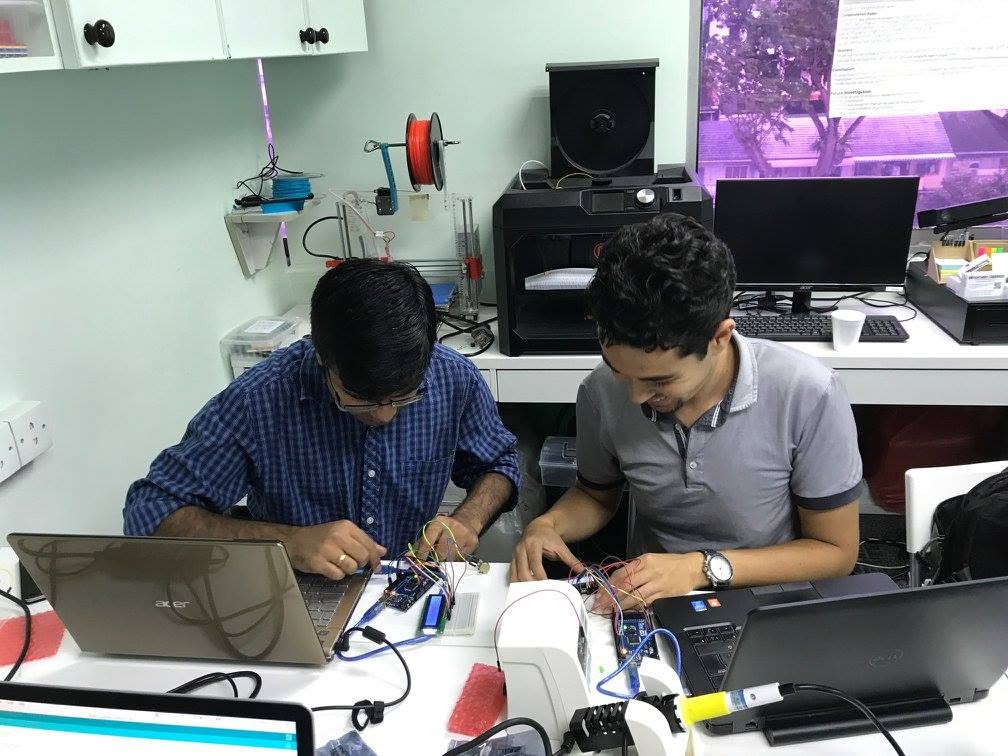
What the photograph above does not show is the amount of quiet troubleshooting that fills a hands-on day. A jumper in the wrong row. A component seated across the breadboard's centre channel instead of straddling it. A sketch uploaded to the wrong serial port. Each one is a five-minute fix and a lesson that sticks far better than a slide would.
Getting a display to speak
The first real milestone of the day is the 16x2 character LCD. Wiring one up means dealing with a data bus, a contrast potentiometer, and a backlight — and getting all of it right before a single character appears. When it does, it says the two words every programmer has earned at least once.
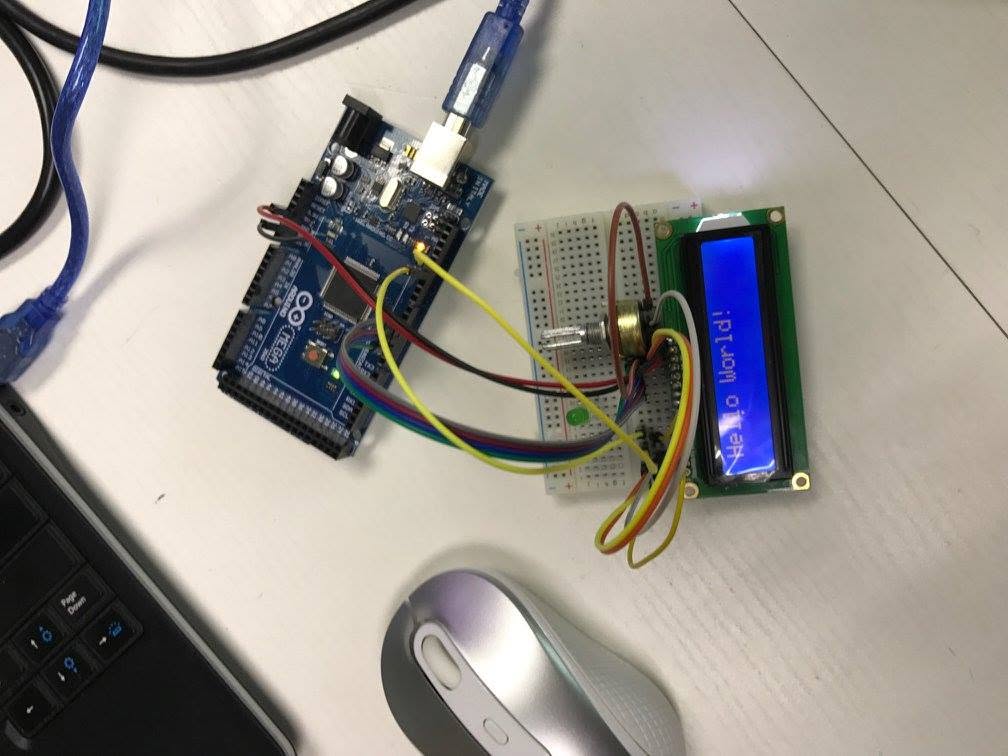
That blue glow is worth more to a beginner than an hour of theory. It is the moment the abstraction closes: code on a screen became voltage on a pin became light in the room.
Sensors, and the jump to something useful
Once output works, the course turns the direction around. Topic 3 covers analogue sensors and transducers — the continuously varying signals that a potentiometer, a light-dependent resistor or a temperature sensor produce, and how the board's analogue-to-digital converter turns them into numbers a program can reason about. Servo control lands in the same topic, because a servo is the clearest possible demonstration that a number in a variable can become an angle in the world.
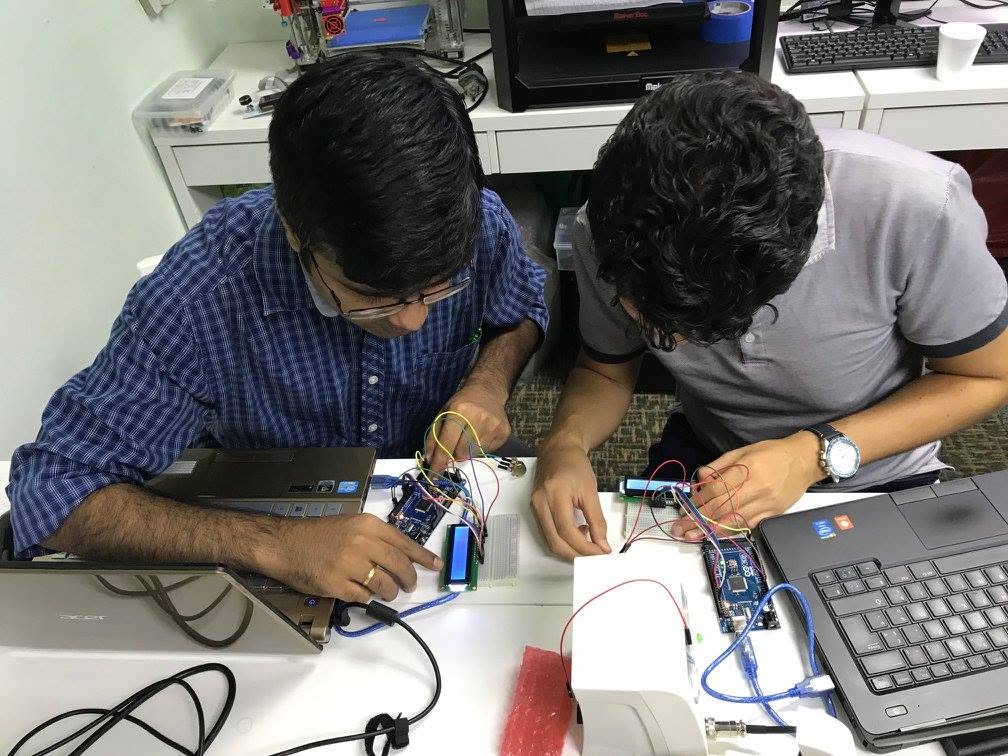
Topic 4 moves to digital sensors, including motion detection driving a light — the same pattern behind every corridor sensor in every office building in Singapore. Topic 5 closes the loop with actuators and stepper motor control, which is where robotics genuinely begins: precise, repeatable movement under program control.
The build that ties it together
The rig below is where the separate pieces stop being separate. An ultrasonic sensor measures the distance to whatever is in front of it, the microcontroller converts the echo time into centimetres, and the LCD reports the result live — here reading 237 cm. Sense, compute, display. Add a motor and you have a robot that stops before it hits a wall.
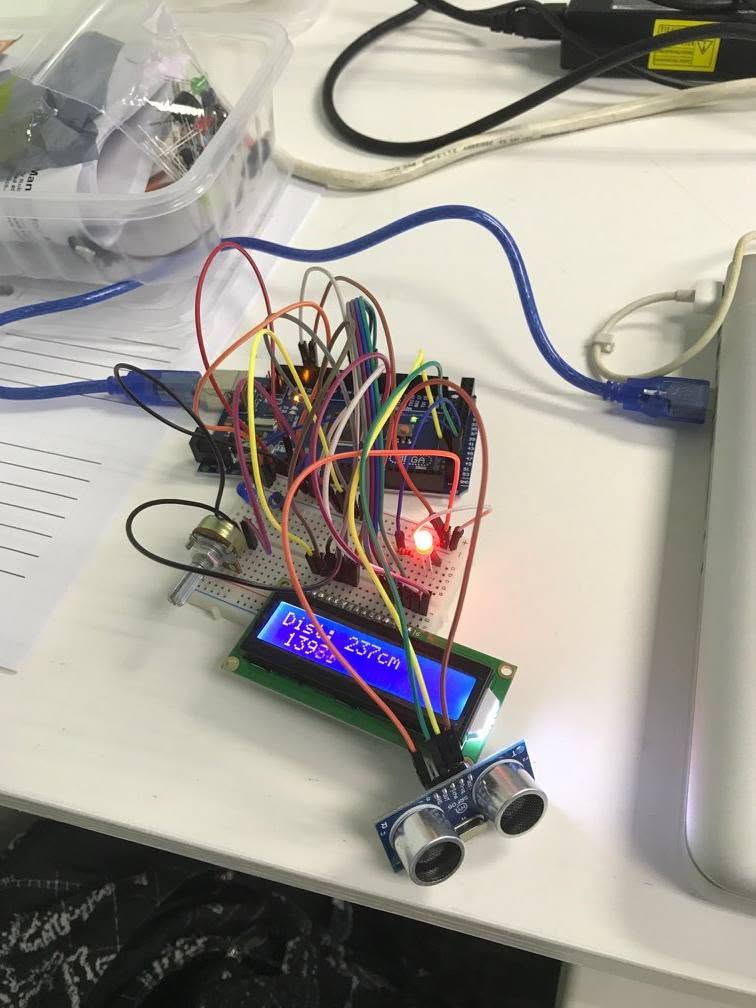
Look closely at the wiring and you can see why we insist on a full hands-on day rather than a demonstration. Roughly thirty connections have to be simultaneously correct for that number to appear. Learning to build that carefully — and to find the one wire that is wrong — is the actual skill.
What the 2017 class did not have
One honest note. In August 2017 this course carried no WSQ funding; every learner in that room paid the full fee. Funding for the course became available on 1 November 2020 and is currently valid through 31 October 2026. The same one-day class today is accredited against the Skills Framework TSC Embedded Systems Integration (ICT-SYS-3001-1.1-1), and the fees look very different:
- Full fee $400 before GST (GST $36 at 9%).
- $236 nett for Singapore Citizens and PRs aged 21 and above — 50% funded.
- $156 nett for Singapore Citizens aged 40 and above, or SME-sponsored staff — 70% funded.
Eligible learners can further offset the payable amount with SkillsFuture Credit; NTUC members may claim UTAP, and companies can tap SkillsFuture Enterprise Credit and Absentee Payroll. Passing the assessment and meeting 75% attendance earns both a Certificate of Achievement and an OpenCert Statement of Achievement from SkillsFuture Singapore — neither of which existed for this course in 2017.
Frequently asked questions
Do I need an electronics or programming background?
No. The course is pitched at Beginner level. You need basic computer literacy and the ability to operate a laptop. The 2017 class was mostly first-timers, and that is still the intended audience.
How long is the course?
One day — 8 hours of instruction plus a 1-hour assessment, running 9:30am to 6:30pm. There is also an evening option spread over two evenings, 6:00pm to 10:00pm.
Is the Arduino kit included in the fee?
No. The kit is used during the training but is not included in the course fee. Bring your own laptop for the hands-on work; a spare can be provided if you do not have one.
What software do I need to install?
The Arduino IDE, which is free and runs on both Windows and Mac laptops.
Was the 2017 class WSQ funded?
No. Funding for this course started on 1 November 2020. Learners in 2017 paid the full fee. Today an eligible Singapore Citizen aged 40 and above pays $156 nett for the same one-day class.
Where is the class held?
12 Woodlands Square, #07-85/86/87 Woods Square Tower 1, Singapore 737715 — a five-minute walk from Woodlands MRT (NS9). The venue is disabled-friendly.
Where to go next
Nine years on, the components have got cheaper and the libraries better, but the path in has not changed: one board, one sensor, one day where the code finally touches something real.
- Join the next WSQ - Practical Electronics Design with Arduino Microcontroller class — from $156 nett for eligible Singapore Citizens aged 40 and above.
- Then put the sensors online: our 2017 Internet of Things class ran on the same idea a few months earlier, wiring sensors to the internet instead of an LCD.